

A crisp brick border does more than make a flower bed look polished. It helps keep grass from creeping into your plants, creates a cleaner mowing line, and gives the entire yard a finished appearance without an expensive makeover.
The real secret is that great results come from a few simple tricks before the first brick ever touches the ground. These practical hacks can help you build an edge that stays neat, lasts longer, and looks like it was installed by a pro.
Pick Bricks That Can Handle the Outdoors
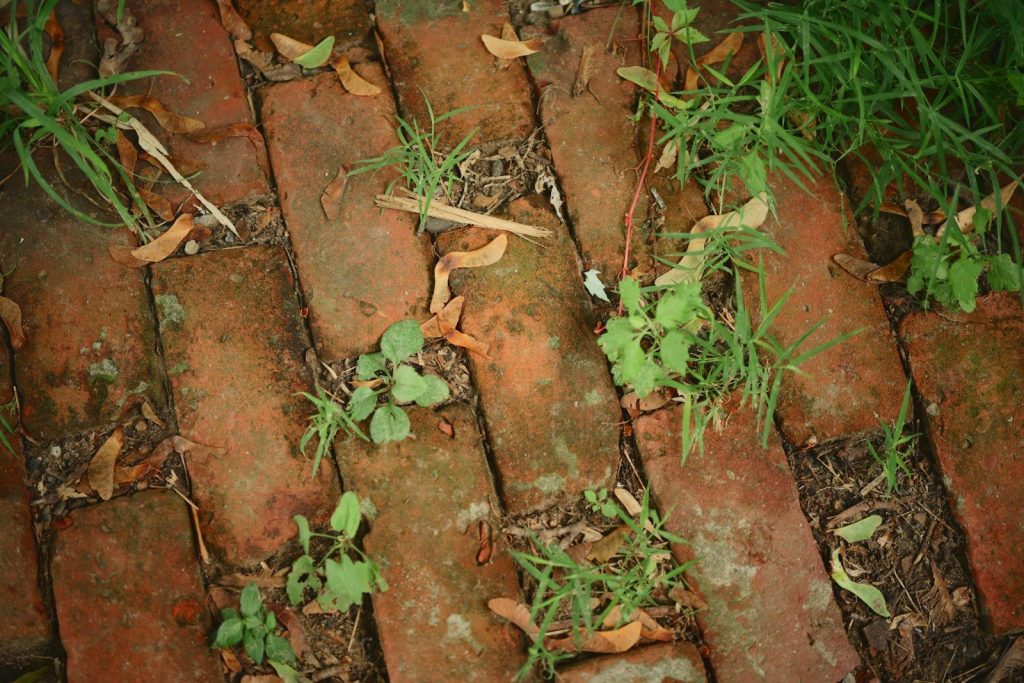
Not every brick belongs in the garden. Choose paving bricks designed for outdoor conditions so they resist cracking through changing weather and regular foot traffic. That one decision can save repairs later.
Measure your border with a rope instead of guessing. Then add a few extra bricks to your order so unexpected cuts or mistakes never bring the project to a stop. g
Place the bricks along the garden edge before grabbing a shovel. This simple preview helps you adjust curves, spot awkward gaps, and create a border that feels balanced from every angle.
Gentle curves usually need tiny spaces between bricks. Sharper bends may require a specially cut brick, making the finished edge look intentional instead of forced.
Dig Deeper Than You Think
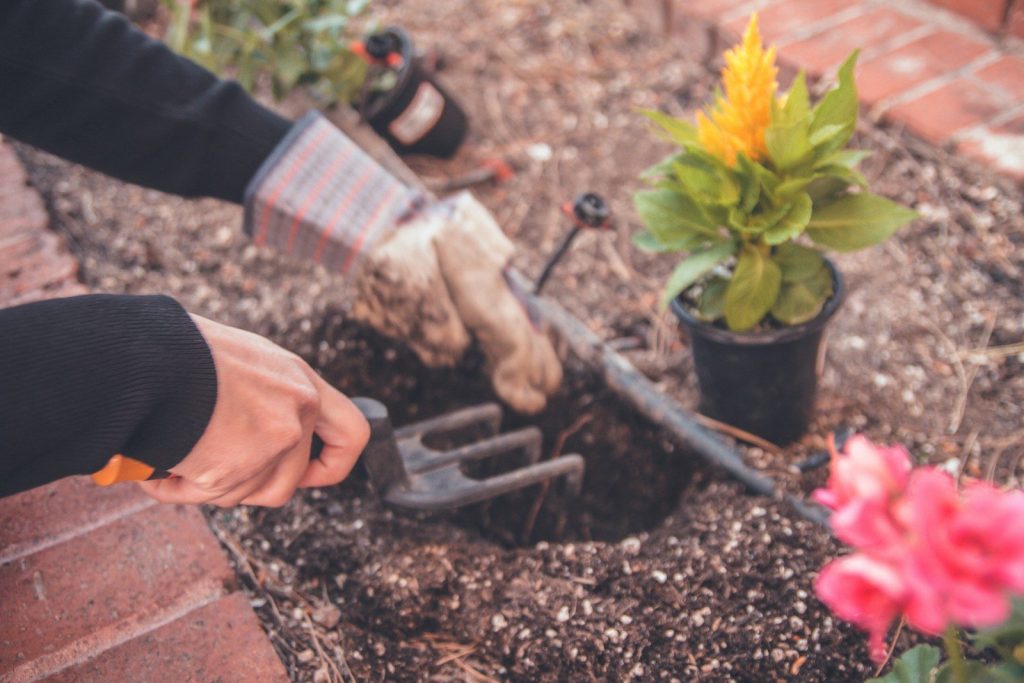
A shallow trench often leads to shifting bricks. Dig past loose topsoil until you reach firmer ground, creating a stronger foundation that stays more stable over time.
Make the trench wide enough for easy adjustments while working. Extra room gives you flexibility without disturbing nearby plants or damaging the lawn.
Build a Base That Prevents Movement
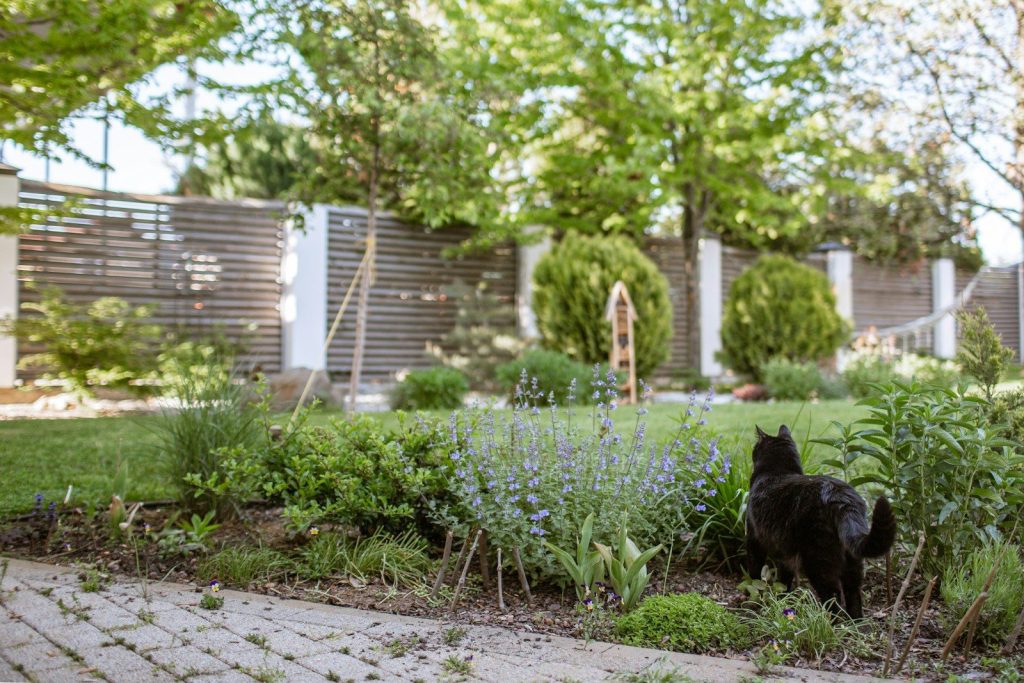
Strong edging starts below the surface. A compacted base followed by a leveling layer helps distribute weight evenly and keeps bricks from sinking or tilting after heavy rain.
Take a little extra time checking for level as you go. Small corrections during installation are much easier than rebuilding sections later.
Keep the Top Edge Flush

Setting bricks level with the surrounding lawn creates a surprisingly useful shortcut. Lawn mower wheels can roll across the border, reducing the need for trimming around every edge.
This simple positioning also produces a clean transition between grass and planting beds, giving the landscape a sharper, more organized appearance.
Lock Everything Into Place
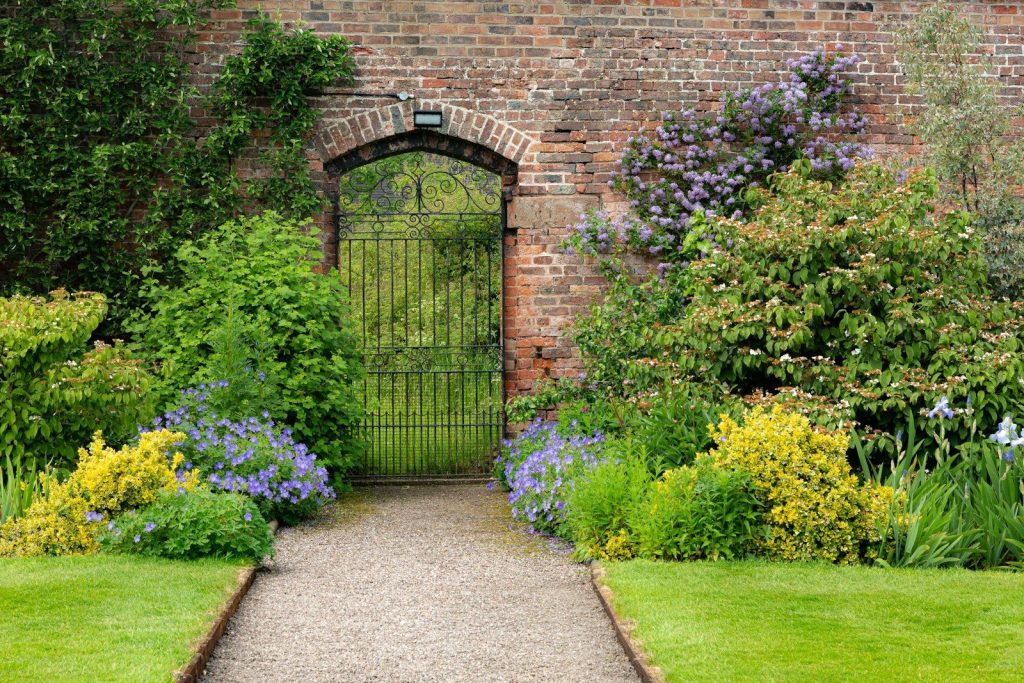
Sweep joint material into the spaces between bricks once the layout is complete. Filled joints help reduce movement while giving the border a cleaner, finished look.
A gentle rinse settles everything into place. Taking your time during this step helps the edging stay aligned through changing seasons.
Let the Border Work for You
Brick edging is more than decoration. It creates a clear mowing guide while helping separate lawn from mulch, making routine yard care faster and less frustrating.
The cleaner division also helps your planting beds keep their shape, so your landscape continues looking tidy with less frequent touch ups.
Add Small Touches That Make a Big Difference
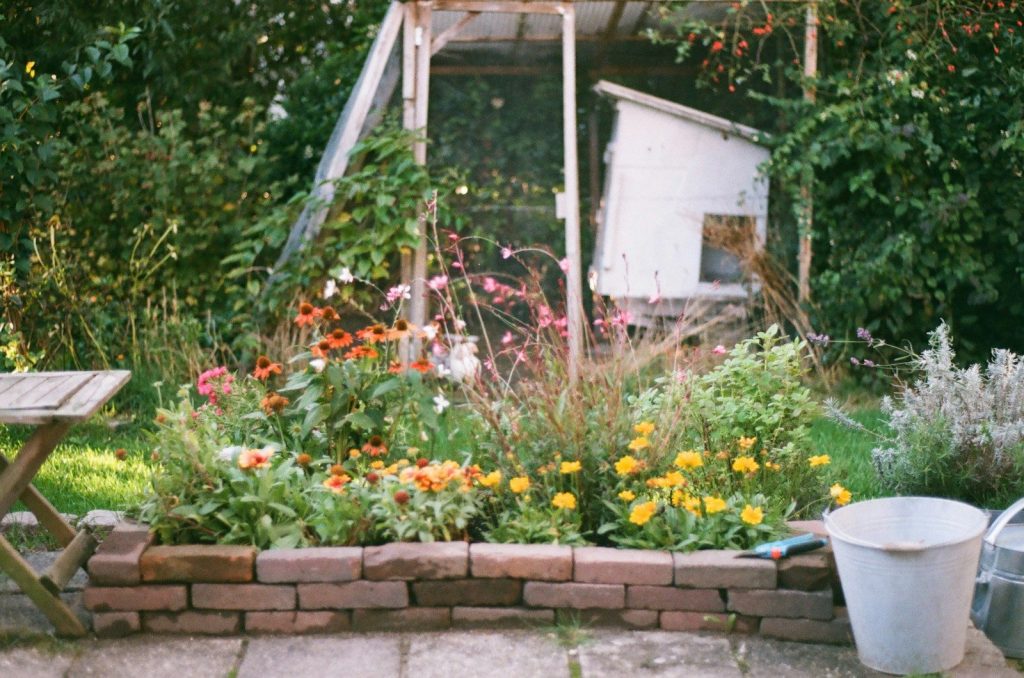
Brush away loose soil before calling the project finished. Clean brick faces instantly make the border look more polished and highlight the pattern you worked to create.
Walk the entire edge one final time and make tiny adjustments before everything settles. Those last few minutes often make the difference between a good looking border and one that truly stands out.
Featured Image: By Tatyana Rubleva on Unsplash