

A basic handrail can do far more than make an entryway safer. With the right layout, simple lumber can become a sturdy architectural feature that looks intentionally designed instead of like a last-minute weekend project.
The smartest part is in the planning. A few tricks involving spacing, support posts, hidden hardware, and finishing can make the difference between a wobbly homemade railing and one that looks surprisingly professional.
Plan the Mounting Before Cutting a Single Board

One of the easiest DIY mistakes is choosing the railing design before figuring out what it will attach to. Start by checking whether the structure can be secured to the floor, wall, or both. The best mounting method depends on what is actually behind those surfaces, so this step can save you from building something that looks great but has nowhere solid to anchor.
Use the surrounding architecture as part of the design too. A railing can sit neatly along a drywall edge or become part of a larger trim detail. Just check local building codes first, since required dimensions and spacing can vary by location.
Use a Center Post to Make Long Rails Stronger
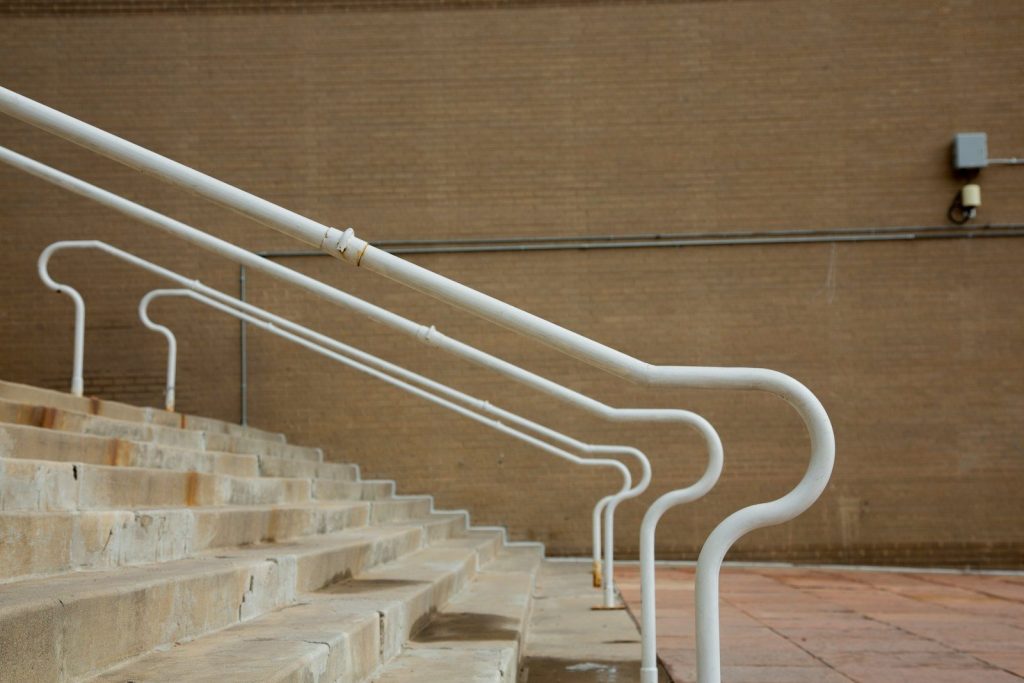
If a railing stretches across a longer opening, do not rely on the end supports alone. A center post can add important strength and also make the entire design look more balanced. For longer spans, extra support may be required by local codes, so this is both a practical and visual upgrade.
Here is the design trick worth stealing. Center the post whenever possible. A symmetrical layout tends to look more intentional, especially in an entryway where the railing is one of the first details people notice.
Build the Main Frame Before Worrying About Details
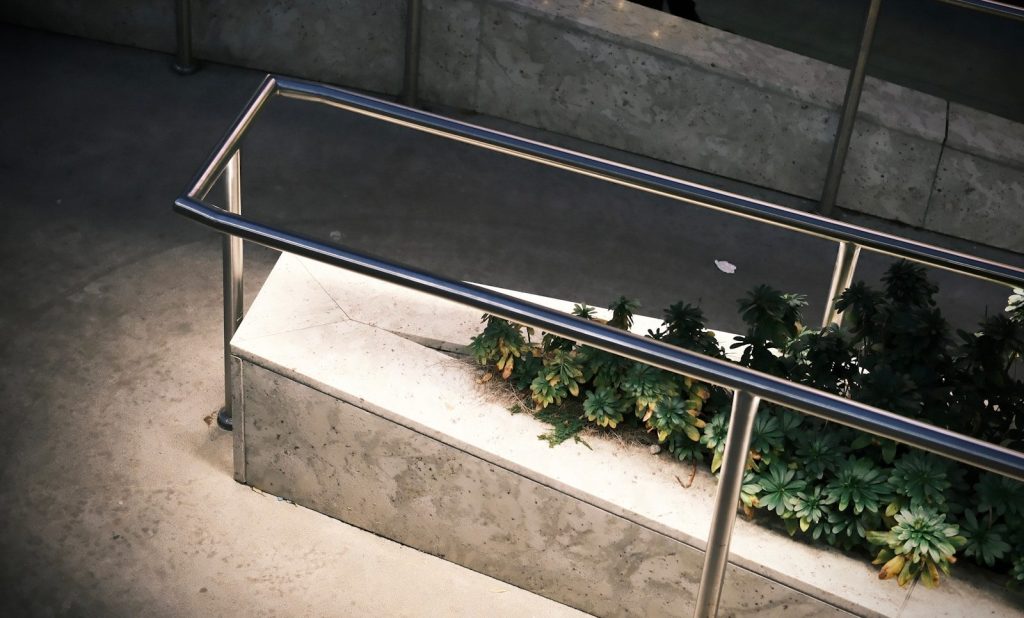
The easiest way to keep a railing project manageable is to think of it as a strong frame first and a finished feature second. Use the main horizontal supports and sturdy posts to create the basic structure before adding smaller decorative pieces.
This approach also makes it easier to check whether everything is square and level as you go. Straight boards, predrilled holes, glue, and properly sized screws all help create a stronger assembly, while checking each step prevents small errors from multiplying later.
Find the Center Before Spacing Every Baluster
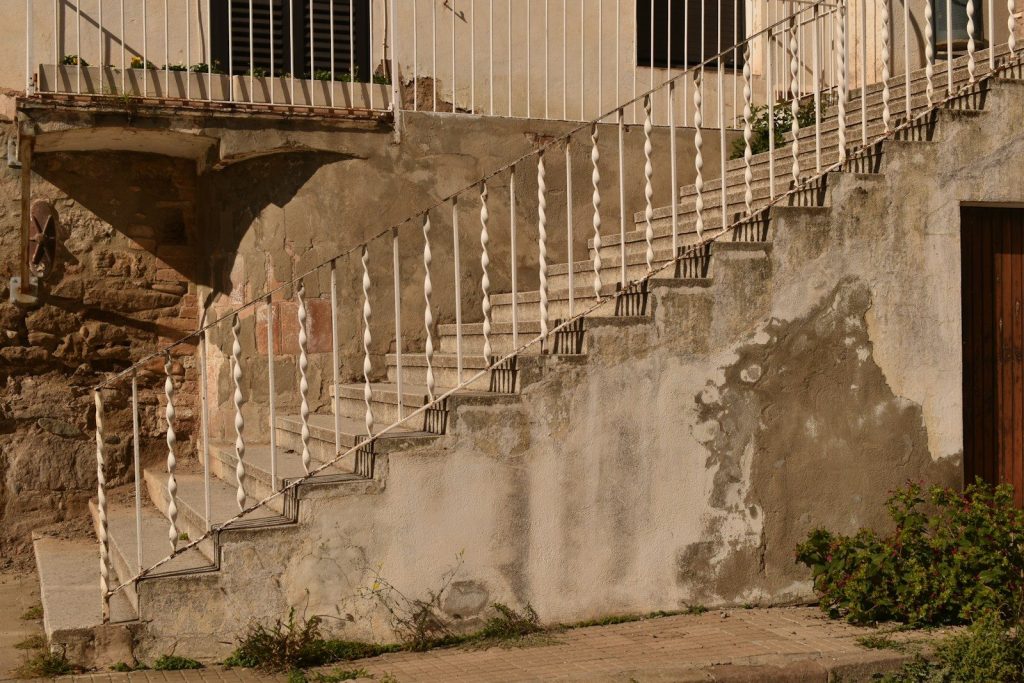
Baluster spacing can quickly become a headache if you simply start from one end and hope the final gap works out. A smarter trick is to calculate the center first. The number of balusters changes the layout, so the center may be a baluster or a gap between two of them.
Starting from the middle helps keep the design visually balanced and makes the end spacing easier to manage. It is a small planning move, but it can prevent the awkward uneven look that makes many DIY railings seem unfinished.
Make a Simple Spacer Block for Faster Assembly
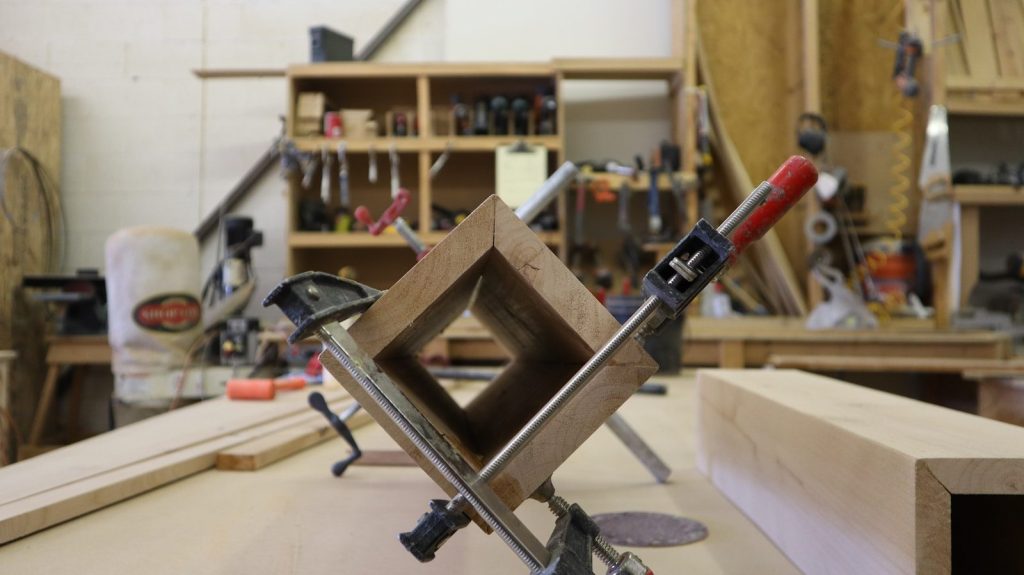
Once you have the first baluster positioned correctly, do not measure every single gap from scratch. Cut a small spacer block to the desired distance and use it as a repeatable guide while installing the rest.
This simple workshop hack speeds up the process and keeps the spacing consistent. It also reduces the chance of tiny measuring errors that become obvious when you reach the other end. A homemade spacer can be one of the most useful tools on the entire project.
Hide Pocket Holes Instead of Fighting Them
Pocket holes are incredibly useful for building a sturdy frame, but they can leave visible openings that make the finished project look unfinished. Instead of treating them as a problem, plan to cover them as part of the design.
Trim boards can hide the holes while adding a cleaner, more substantial appearance to the inside of the railing. This is a clever way to get the strength of pocket-hole joinery without leaving the hardware details on display.
Turn Corners Into a Structural Advantage
A corner does not have to complicate the design. In a turning section, the corner post can become the starting point for the next run of railing. That means one structural element can help connect two sections while keeping the overall look cohesive.
The key is to think about the entire path before cutting individual pieces. Planning the corner early can prevent awkward joints and make the railing feel like one continuous feature instead of separate sections patched together.
Make the Finish Look More Expensive With Prep
The final professional-looking hack is not a fancy finish. It is careful preparation. Fill holes, let the filler dry completely, sand with the grain, and remove every bit of dust before applying paint or stain.
Always test the finish on scrap wood or a hidden area first. This helps reveal problems with color or adhesion before they appear on the finished railing. With solid construction, clean lines, and patient prep, ordinary lumber can look far more custom than its price tag suggests.
Featured Image: By Cheuk Wai Lee on Unsplash