

You do not need fancy fabric, sewing skills, or a workshop full of specialized tools to make a kite that actually flies. A few clever material swaps and simple assembly tricks can turn lightweight Tyvek into a durable, colorful project that feels far more impressive than its low-cost parts suggest.
The real appeal is in the shortcuts. From using everyday shipping envelopes to creating a strong frame with flexible rods, these ideas make kite building easier while leaving plenty of room to customize the final design.
Turn Shipping Material Into a Kite Sail
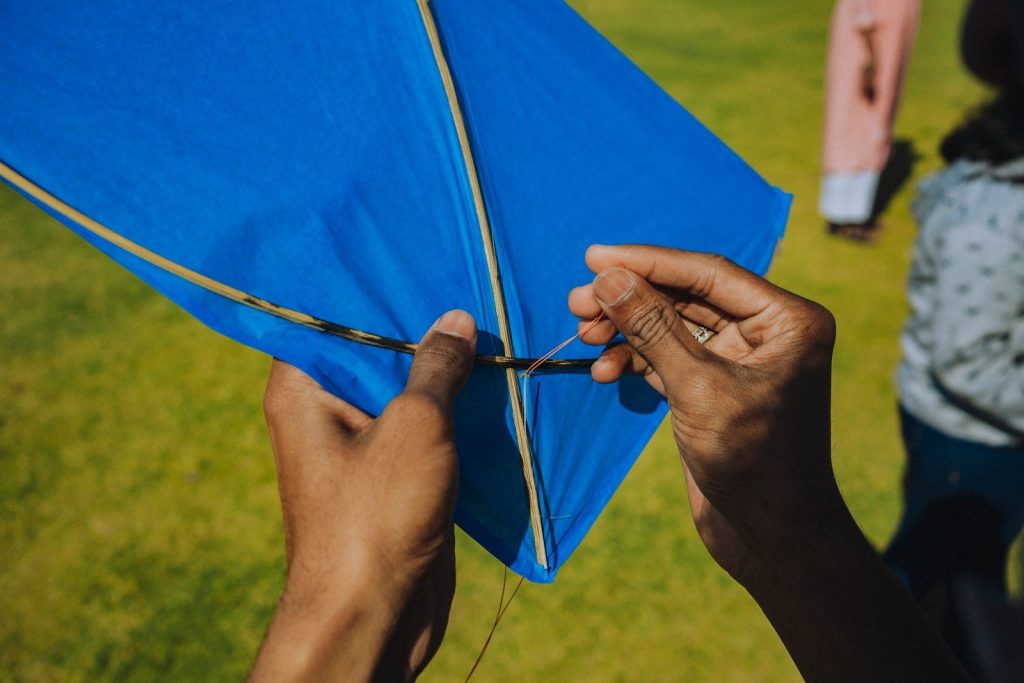
One of the smartest hacks is using lightweight Tyvek instead of traditional kite fabric. Priority Mail, FedEx, or UPS envelopes can work well, giving you a tough, flexible surface without needing to buy specialty material. Just avoid heavy construction-grade HomeWrap, which can weigh down the design.
If you do not have one large sheet, join smaller pieces carefully with tape. The goal is a lightweight sail that can catch air without becoming floppy. This simple material swap makes the project cheaper and gives old packaging a surprisingly fun second life.
Use a Reusable Template Instead of Measuring Every Time
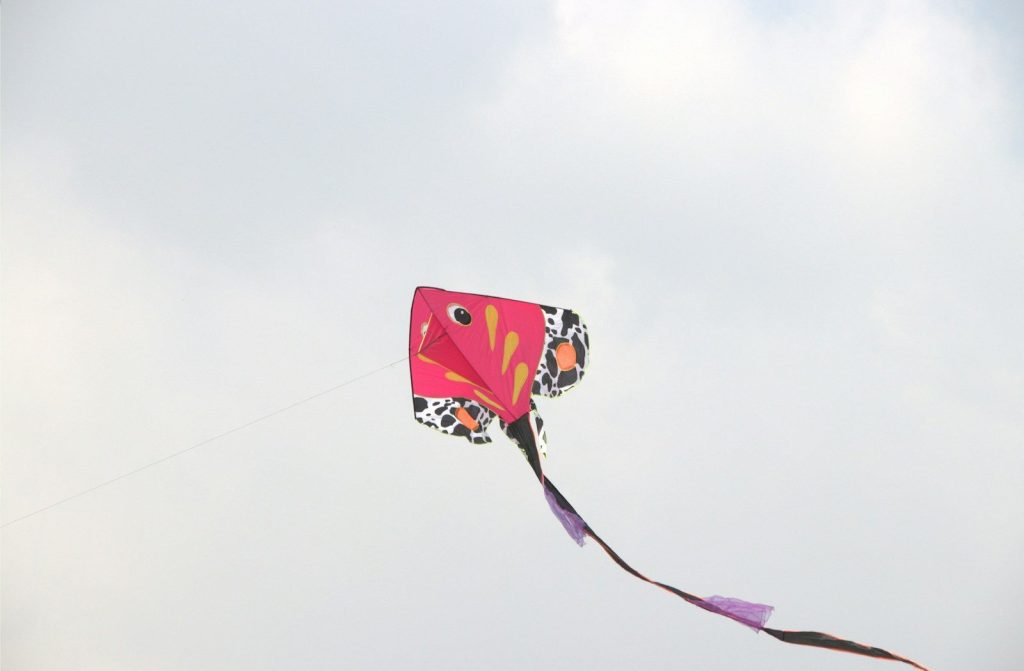
A sturdy template can save a huge amount of time if you plan to make more than one kite. Print the pattern at full size, mount it onto poster board, and build up several layers so it becomes rigid enough for repeated tracing.
For extra durability, reinforce the template edges with super glue. That small upgrade helps prevent wear as you cut multiple sails. Once the template is ready, the design process becomes much faster and more consistent.
Let Markers Do the Decorating Work
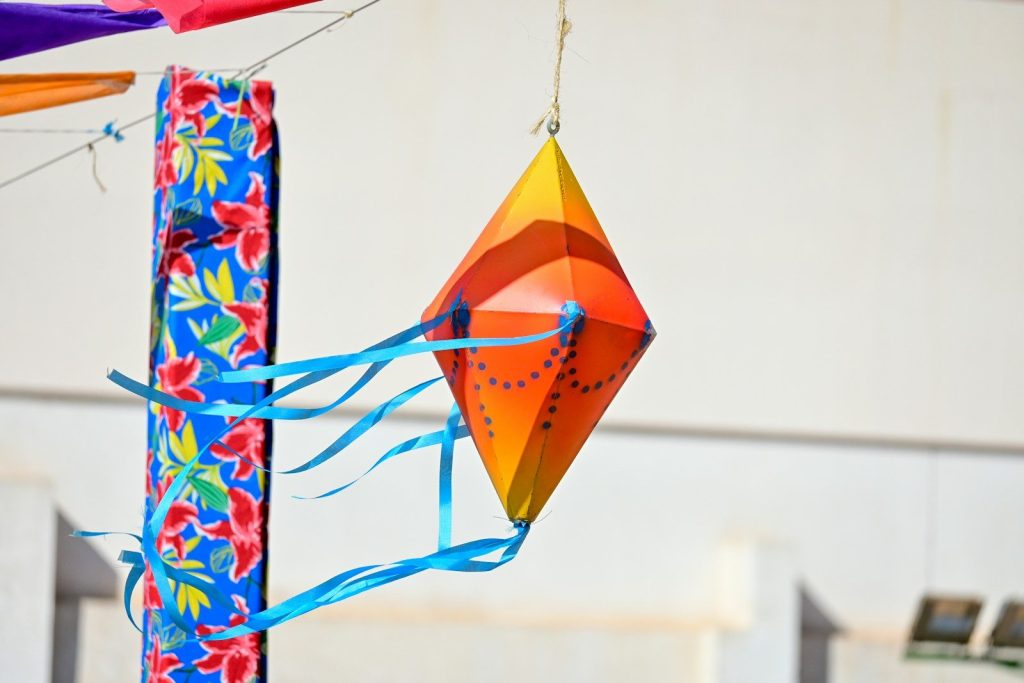
You do not need complicated painting techniques to make a kite stand out. Alcohol-based markers are an easy way to add bold designs directly to the Tyvek before assembly, and they dry quickly without much fuss.
This is also the perfect stage for personalization. Try bold shapes, stripes, fish scales, or abstract patterns while the sail is still flat. Avoid water-based markers, which may not dry properly, and solvent-heavy industrial markers that can make the material pucker.
Make Sticky Parts Easier to Handle
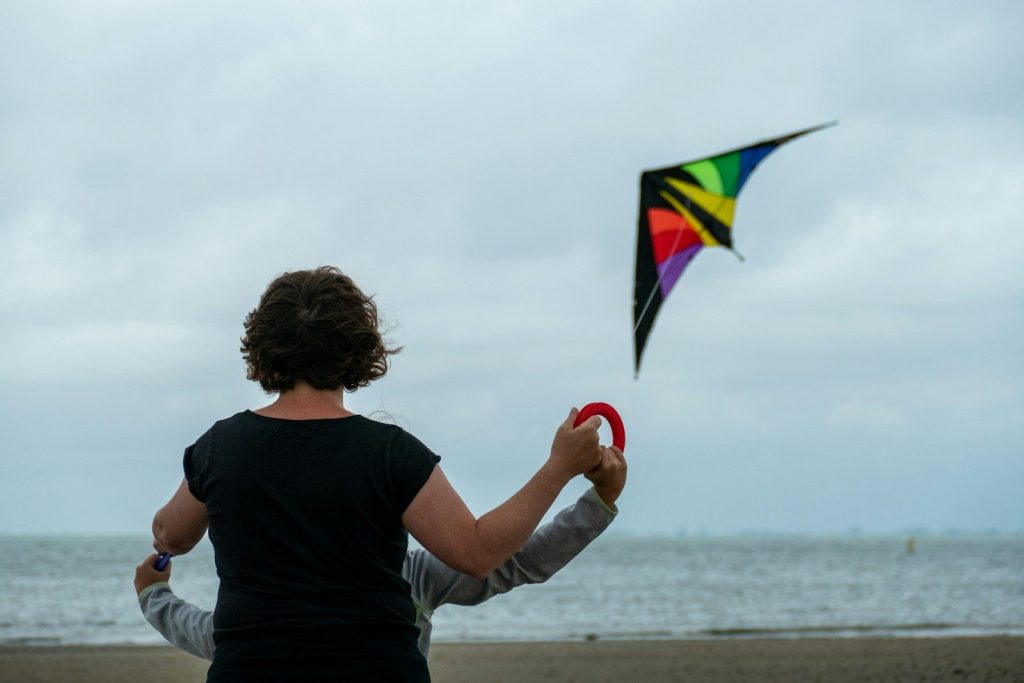
Pressure-sensitive adhesive can be wonderfully strong, but it becomes frustrating when fingerprints and scraps get involved. Clean your hands and the printed parts with alcohol first, then handle the adhesive mostly by its edges.
A toothpick or bamboo skewer is a surprisingly useful positioning tool for small pieces. Save the adhesive backing scraps too. They give you a place to collect sticky leftovers instead of letting them turn your work surface into a mess.
Use a Burnishing Trick for Stronger Bonds
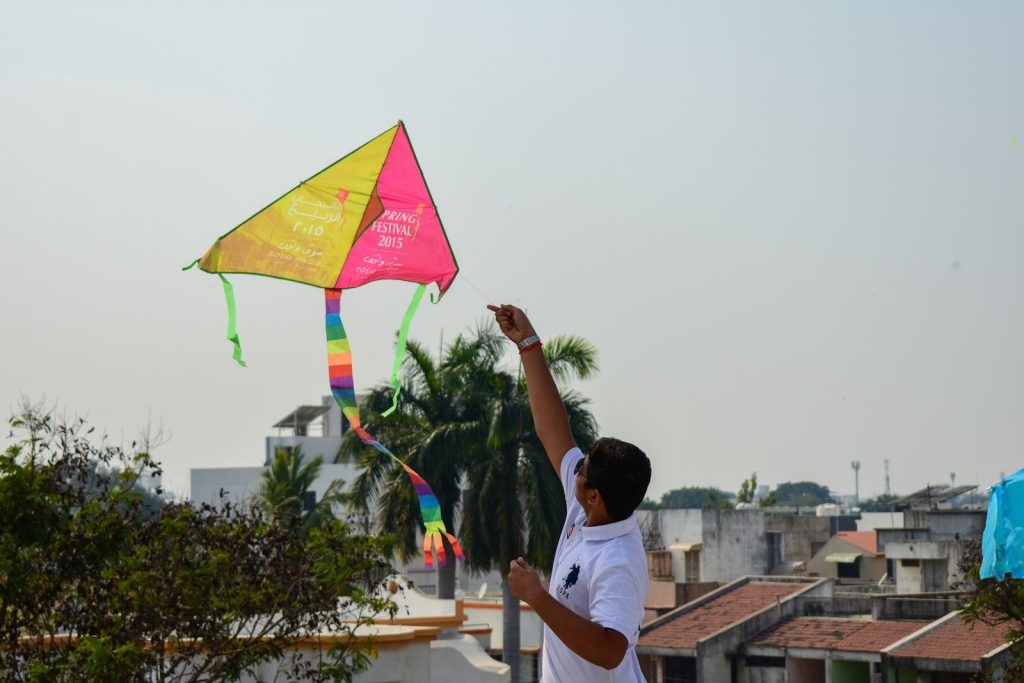
Once the adhesive pieces are positioned, do not just press them down with your fingers and move on. Use a smooth rounded object, such as the barrel of a marker, to firmly rub over the parts and improve contact.
This extra pressure helps the adhesive bond more securely and can make the finished kite last longer. It is a small finishing step, but it is one of those hidden workshop tricks that can make a homemade project feel much more polished.
Let the Frame Create the Lift
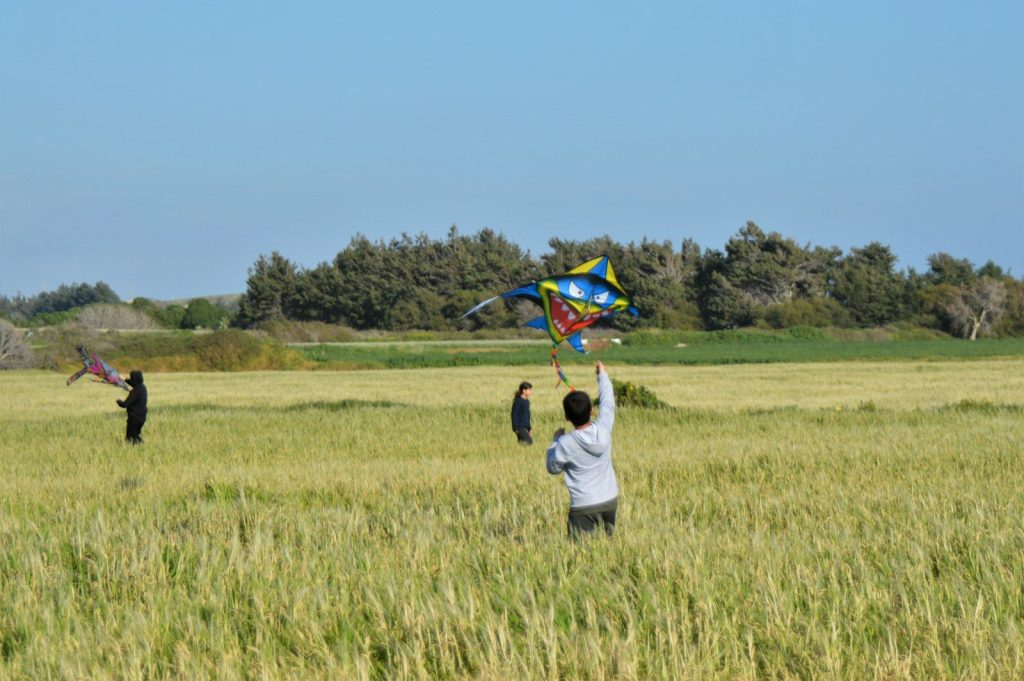
The frame does more than hold the sail in shape. A curved spine and bowed crosspiece help create the structure needed for lift and stability. Flexible fiberglass rods are useful because they are lightweight while still providing spring and strength.
When cutting the rods, score them first instead of forcing a blade all the way through. Once scored, they can be snapped cleanly and lightly sanded. This simple technique gives you more control and reduces rough edges.
Add Stability With a Simple Tail
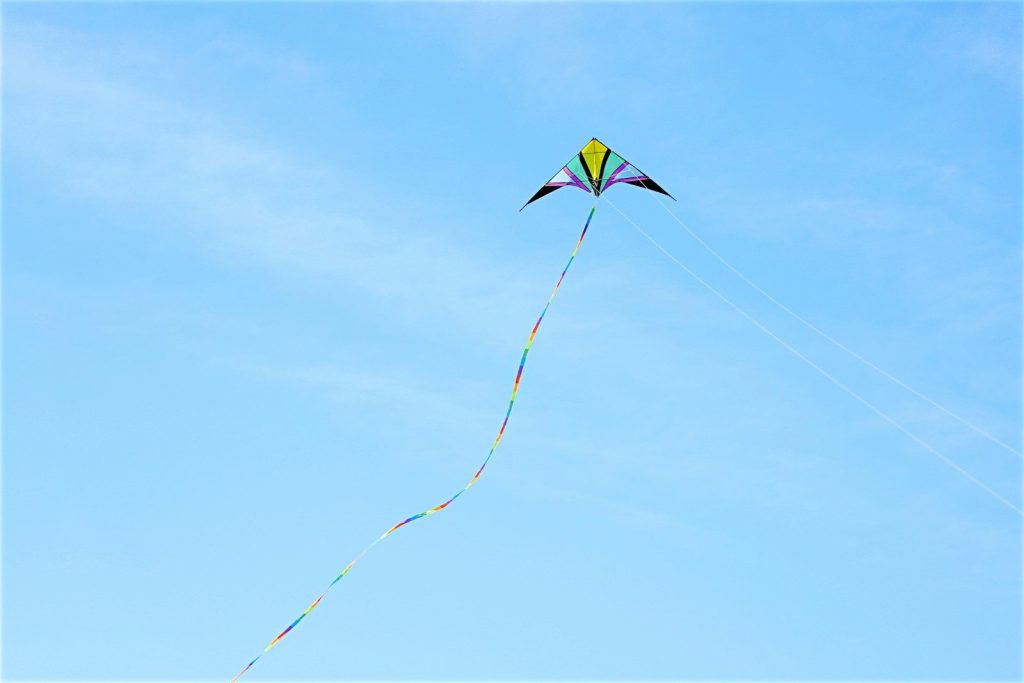
A flat kite may need a little help staying steady in changing air. That is where the tail becomes more than decoration. Long ribbons add drag and help keep the kite oriented while also creating eye-catching movement overhead.
You can use one color for a cleaner look or mix several shades for more personality. The best part is that the tail can be adjusted to match your design, making it both a practical stabilizer and one of the easiest ways to customize the finished kite.
Skip Complicated Hardware With One Simple Knot
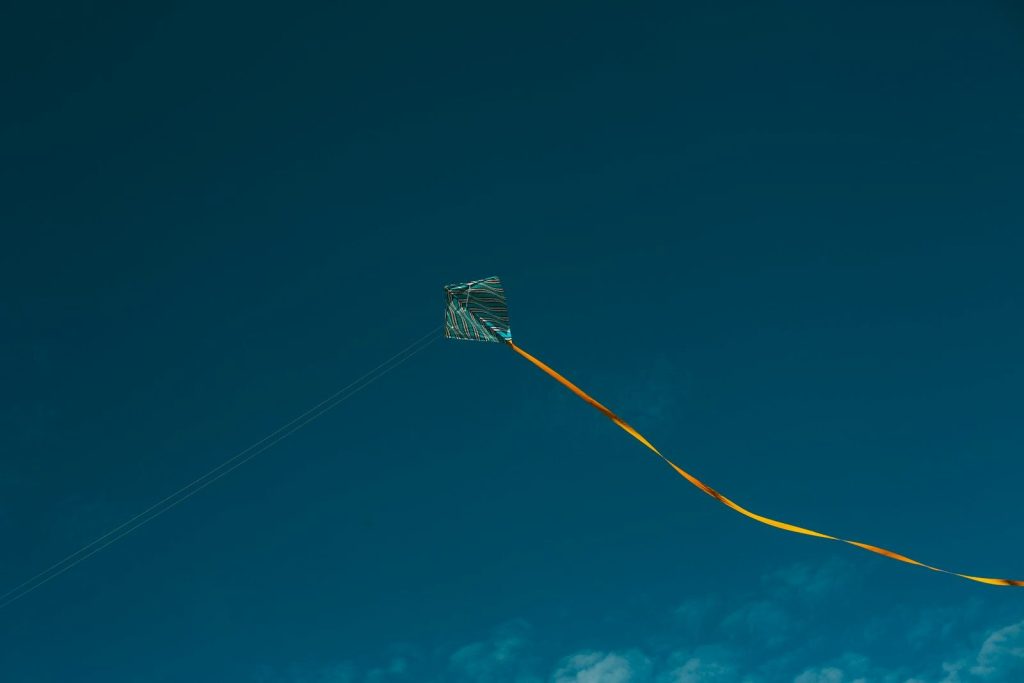
The flying line does not always need a complicated adjustable bridle or extra hardware. A simple tow point and a reliable lark’s head hitch can provide a straightforward connection between the kite and line.
That keeps the setup lighter and easier to understand, especially for beginners. Once the frame, sail, tail, and line are working together, you have a project that combines recycled materials, basic fabrication, and a little aerodynamic magic in one surprisingly approachable build.
Featured Image: By Kanishk Agarwal on Unsplash