

A deep galvanized raised bed looks impressive until you start calculating how much bagged soil it actually takes to fill it, and the number gets discouraging fast. Gardeners who have filled multiple beds the expensive way and then discovered the alternative tend to describe the discovery the same way: why didn’t anyone tell me this sooner? A centuries-old layering technique called Hugelkultur fills the bottom two-thirds of any bed with materials most people already have or can get for nothing, and only the top layer where plants actually grow needs quality purchased soil.
Start With Cardboard Across the Very Bottom
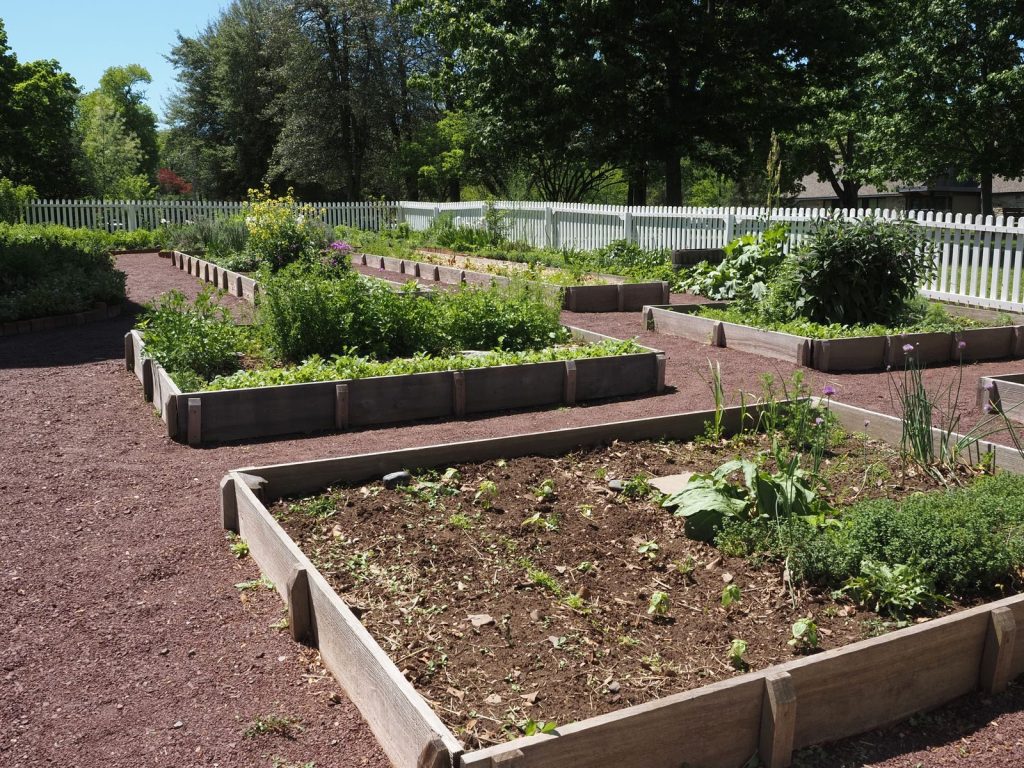
A single layer of cardboard laid flat across the base of the bed before anything else goes in blocks weeds and grass from growing up into the bed from below, and it breaks down completely within a season, adding carbon to the layers above it. It is free from any moving box pile or grocery store back room, and it solves a problem that bagged soil alone never addresses.
Lay Large Logs and Branches as the Foundation Layer
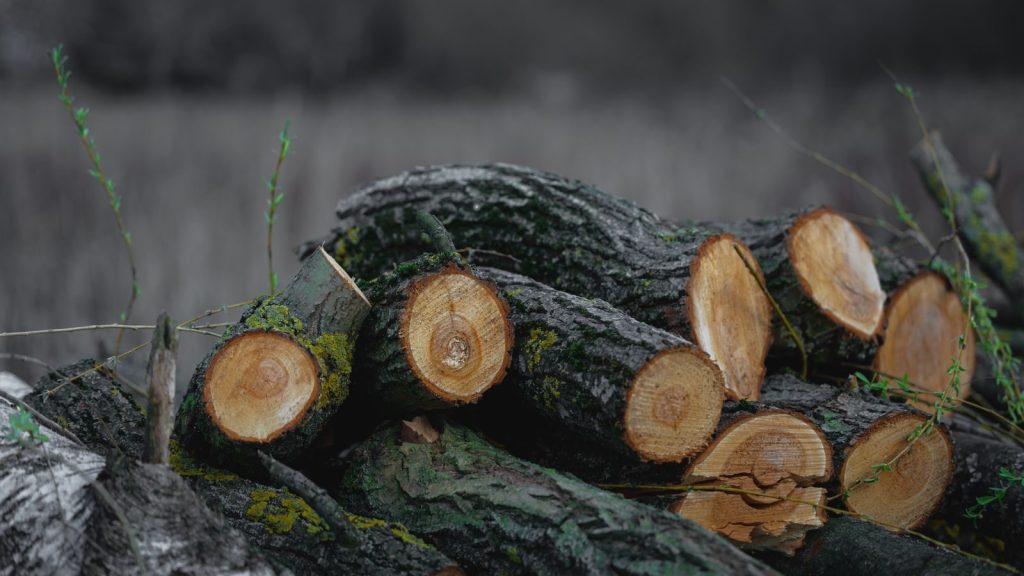
Thick logs and chunky branches, the kind most people put out for yard waste collection, fill the bottom section of a deep bed while slowly releasing nutrients and retaining moisture as they decompose over several years. Hardwoods like oak, maple, and birch work best because they break down slowly and hold water longer. The one wood to avoid entirely is black walnut, which releases a compound called juglone that actively suppresses plant growth and will work against everything planted above it.
Follow With a Layer of Smaller Sticks and Twigs
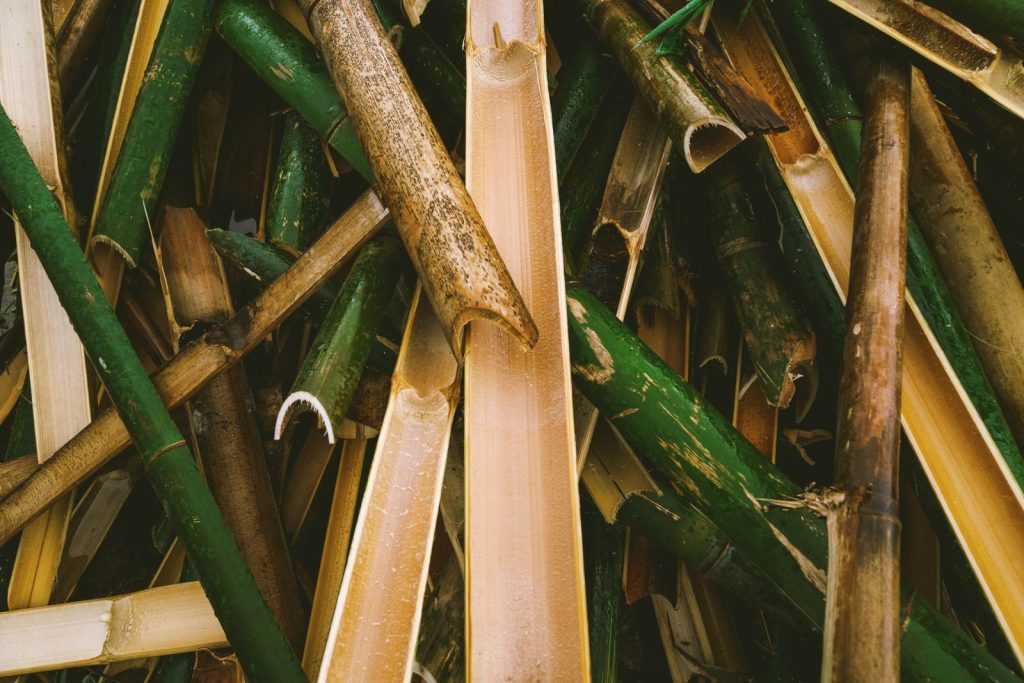
Smaller branches and twigs fill the air gaps left between the larger logs while improving aeration throughout the lower section of the bed. This layer costs nothing and takes ten minutes to collect from any backyard, and its job is structural rather than nutritional, creating the framework that the organic layers above it rest on.
Add Leaves, Grass Clippings, and Kitchen Scraps Next
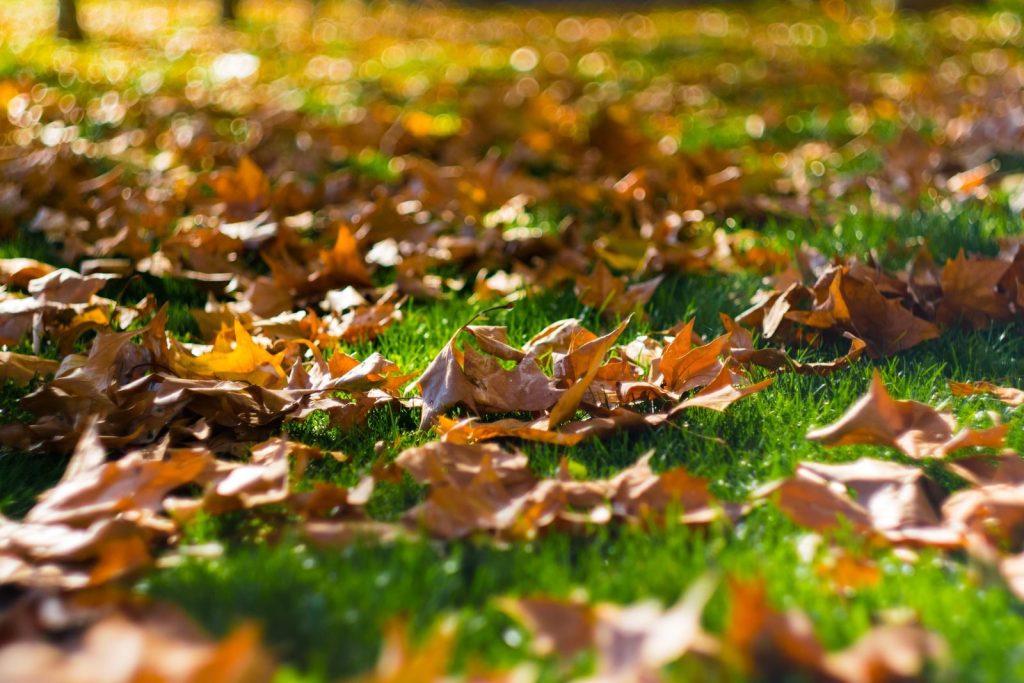
A generous layer of fallen leaves, lawn clippings, and vegetable kitchen scraps goes on top of the woody base, adding nitrogen to balance the carbon-heavy wood layers beneath. The important caveat here is straw, which is commonly recommended for this layer but is notoriously difficult to source without herbicide contamination. Clippings from an untreated lawn or leaves from your own garden are the safer, more reliable choice.
Pile on Compost to Bridge the Gap Between Debris and Soil
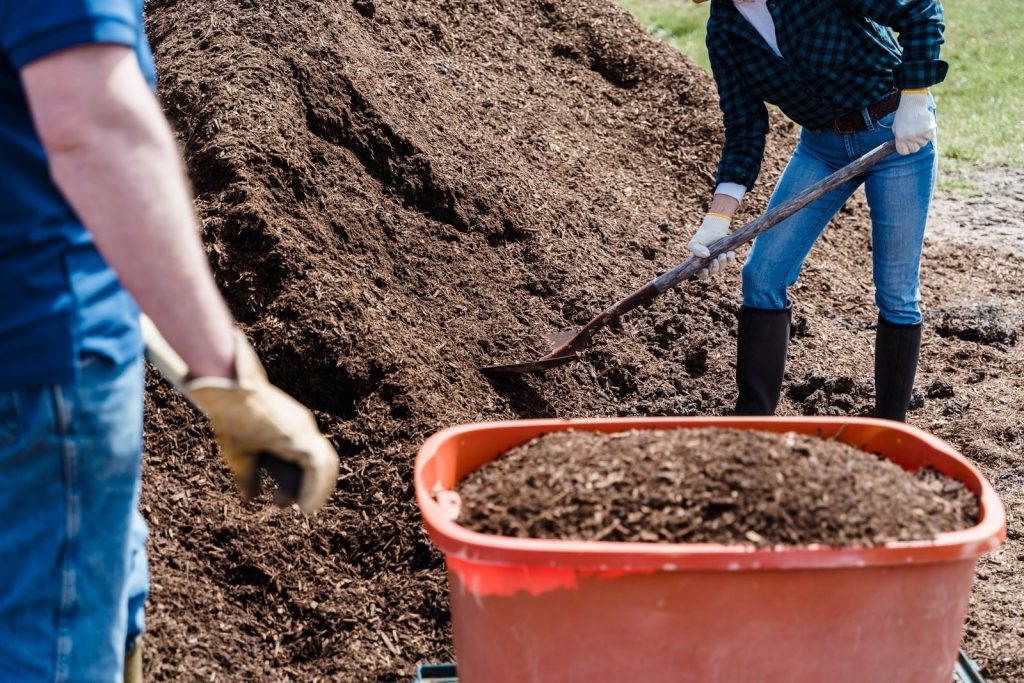
A thick layer of compost goes over the organic material, enriching the layers below with beneficial microbes and accelerating decomposition while providing immediate nutrition for roots that reach down from the growing layer above. Municipal compost is often available free or at low cost from local councils and waste management services, which keeps the cost of this layer down even without a home compost pile.
Top It With Quality Soil for the Final Growing Layer
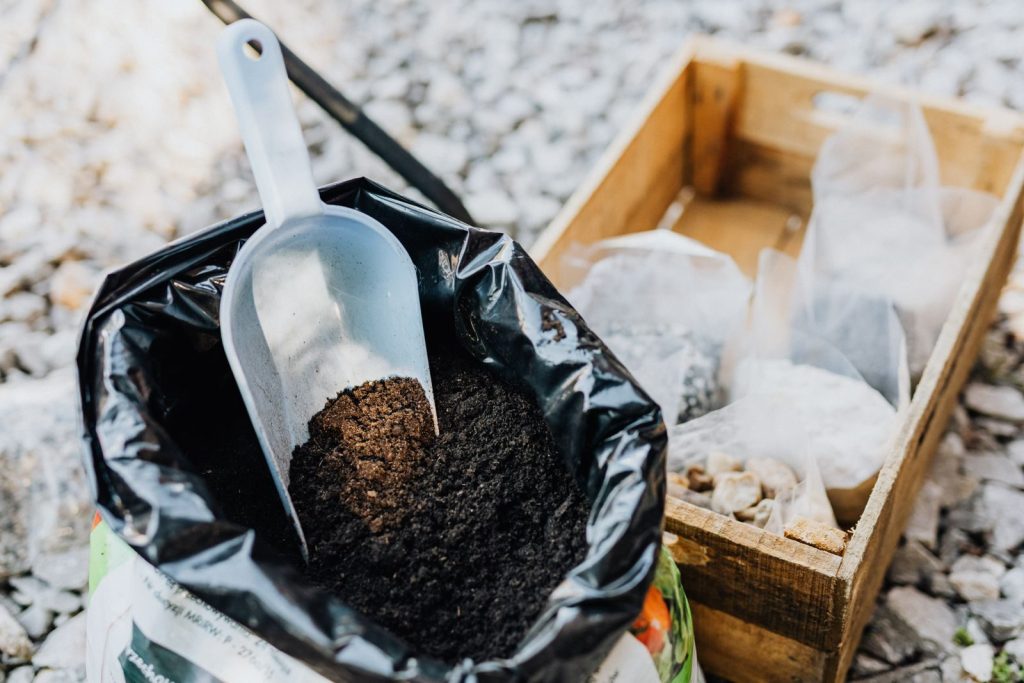
The only layer that actually needs to be purchased is the top section where plant roots spend most of their time, roughly the top eight to twelve inches depending on what will be grown. Root vegetables like carrots and potatoes need the deeper end of that range, while leafy greens and herbs do fine with less. A blend of quality topsoil and compost at roughly equal parts is what experienced gardeners reach for, rather than bagged potting mix alone which can compact and drain poorly in a raised bed setting.
Image idea: topsoil bag garden
Water the Bed Thoroughly Before Planting
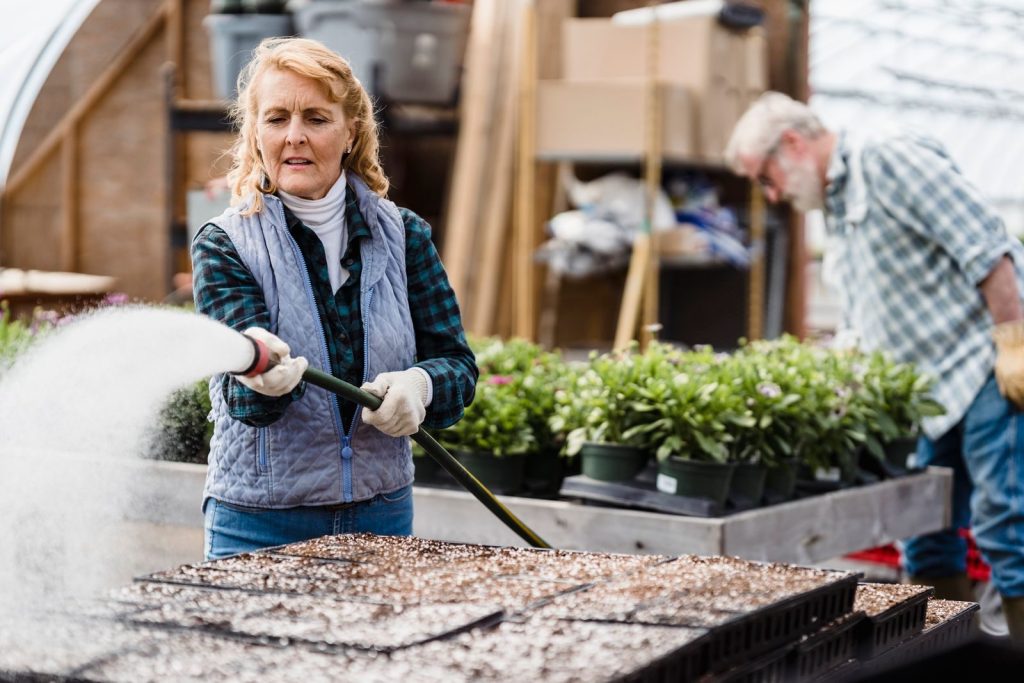
A newly layered bed has a lot of dry organic material inside it that needs to be fully saturated before plants go in, since dry carbon-heavy layers beneath the soil will pull moisture away from roots in the first weeks after planting. Watering deeply and allowing the bed to settle for a day or two before transplanting gives the layers time to compact slightly and the moisture to distribute evenly throughout.
Expect the Bed to Settle and Top It Up Each Season
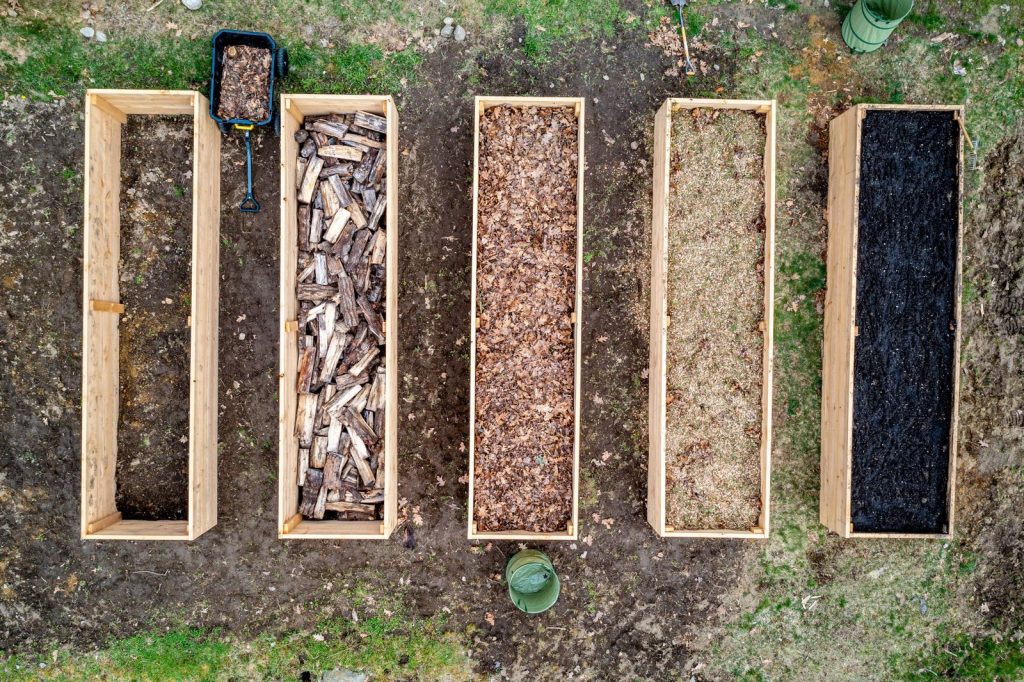
As the organic layers beneath the soil break down over the first year, the bed level drops noticeably, sometimes by several inches. Topping up with fresh compost at the start of each growing season replaces what decomposed, maintains the soil level, and keeps adding fertility to the bed over time as the lower layers continue breaking down into rich humus. It is a feature of the method, not a flaw.
One Deep Bed, Almost Nothing Spent
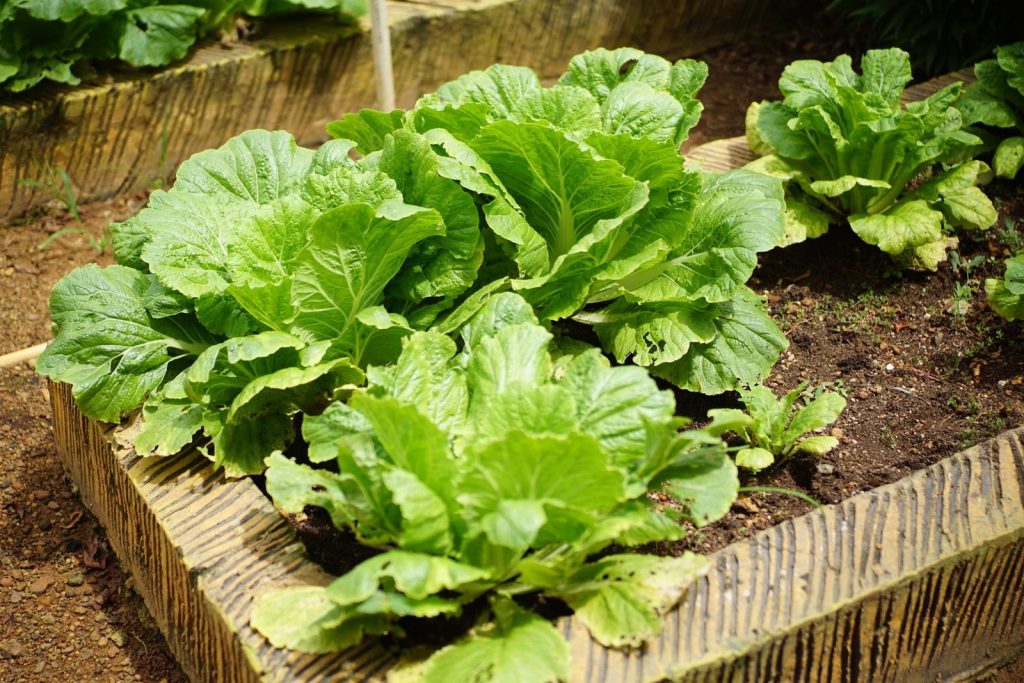
The galvanized bed is the investment. Everything inside it can come almost entirely from materials that were headed for the bin, except for the top layer that actually does the growing. Once the first season is done, the bed starts feeding itself.