

A plain piece of cedar can look surprisingly expensive with the right treatment. Instead of hiding every knot and unusual grain pattern, this clever woodworking approach makes those natural details the star while giving the finished piece a bold, dramatic finish.
The best part is that the technique can be adapted into more than one small decor project. With a few smart preparation tricks, careful carving, and controlled scorching, you can turn basic wood into a display piece that looks far more custom than its price tag suggests.
Let Wild Grain Do the Decorating
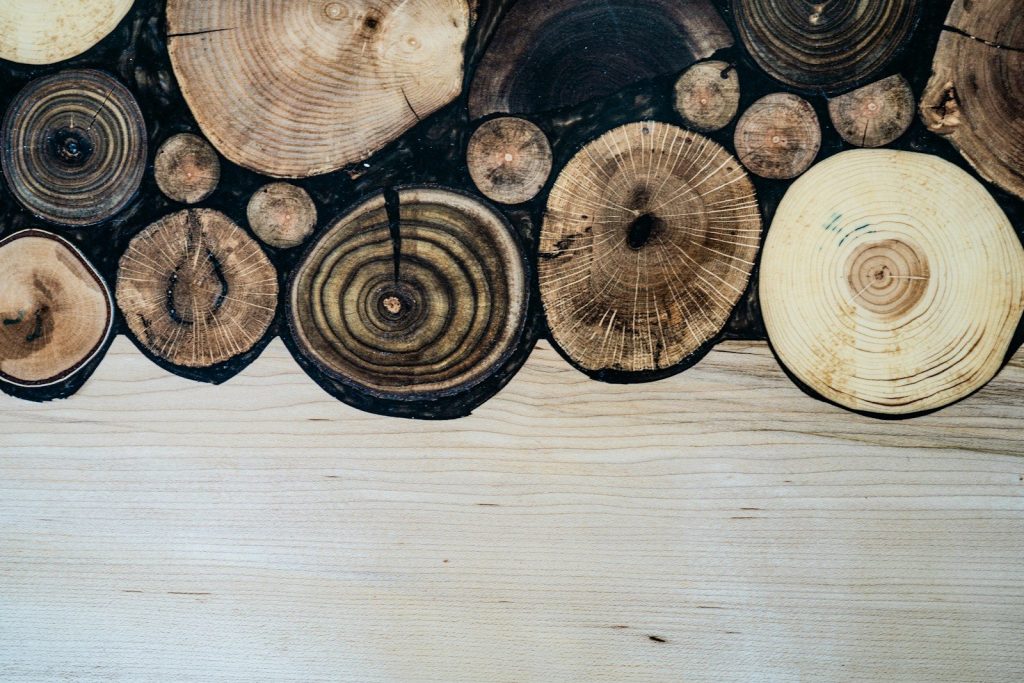
When choosing wood for a small display piece, do not automatically reach for the cleanest board. A cedar piece with unusual grain can create much more visual interest after burning, so imperfections may actually become the feature that makes the finished project stand out.
A compact board is also easier to handle and can become a useful platform for small collectibles, plants, candles, or decorative objects. The hack is to choose character first, since the finish will add drama to details that might otherwise go unnoticed.
Mark Everything Before Cutting
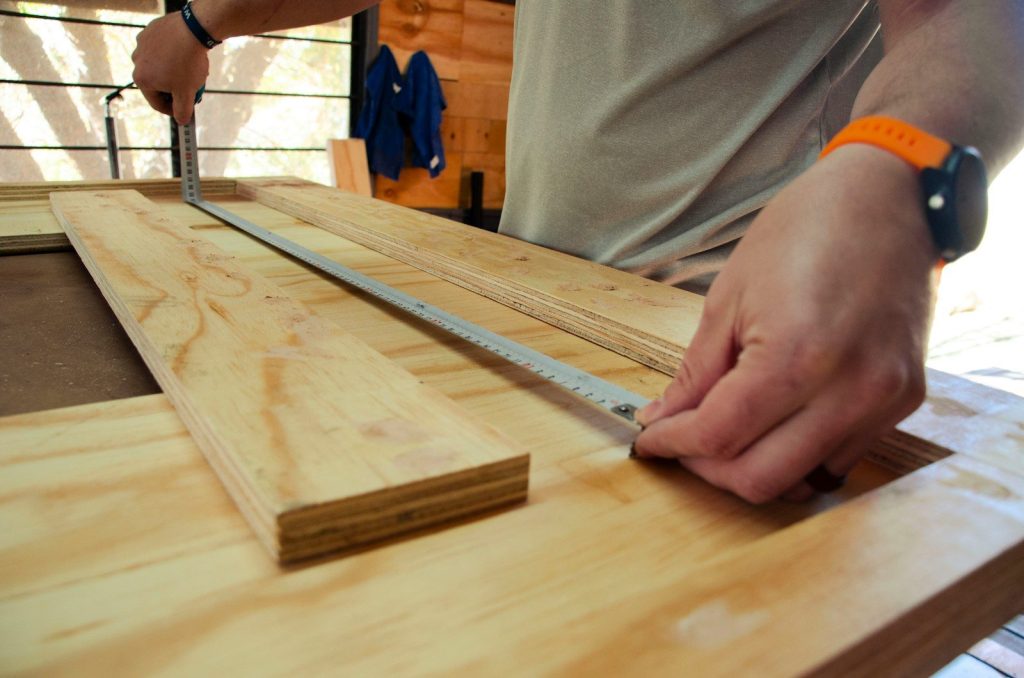
A little layout work can save a lot of frustration later. Mark the top thickness, foot locations, and angled lines before turning on any power tool. Clear reference marks help keep the design balanced and make it easier to repeat matching cuts around the board.
The smartest move is to treat the layout like a template rather than guessing as you go. Small mistakes in the early stages can become very obvious once the wood is burned, so careful marking is one of the easiest ways to make a simple project look professionally planned.
Use Kerfs To Make Chiseling Easier
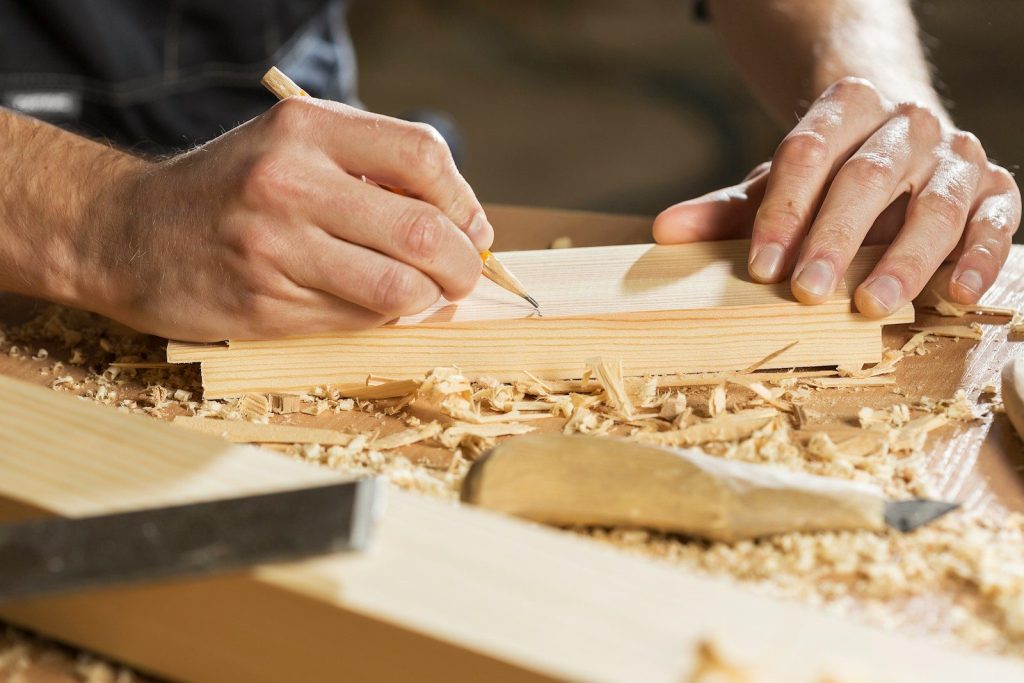
Removing a large section of wood can feel like a chore, but closely spaced cuts can do much of the hard work first. Shallow kerfs break up the waste material, giving a chisel smaller sections to remove instead of forcing it through one solid block.
This is a useful woodworking shortcut whenever you need to hollow out an area without removing too much material at once. The key is to stop the cuts before the areas you want to keep, creating a cleaner path for controlled material removal.
Let The Chisel Follow The Grain
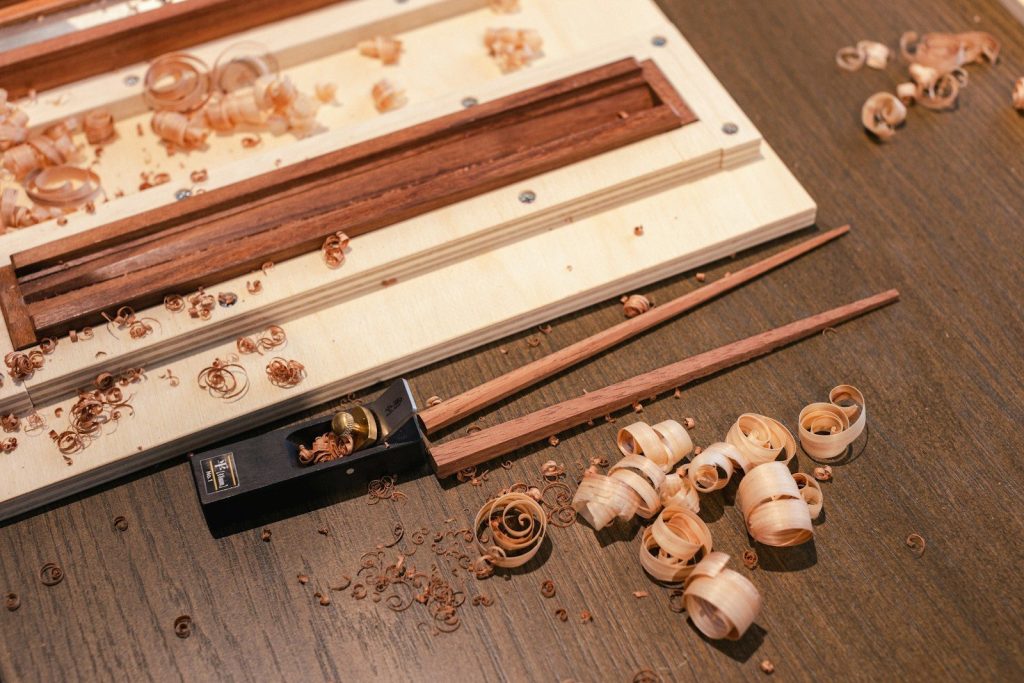
Hard or unpredictable grain can quickly ruin a clean edge if you attack it with heavy passes. A better approach is to work gradually from both sides and remove smaller amounts of material at a time, especially around the feet and narrow sections.
That slower technique may feel less dramatic, but it helps prevent tear-out and accidental damage. When wood starts resisting, treat that as a signal to take lighter cuts instead of forcing the tool through and hoping the surface stays intact.
Sand Before You Bring Out The Torch

One of the most overlooked tricks is doing the final sanding before burning the wood. Scratches, pencil marks, and rough spots can become much more noticeable after scorching, almost like the finish is highlighting every mistake underneath.
Think of the torch as a magnifier for surface quality. Smooth the entire piece first, paying attention to edges and visible faces, because a few extra minutes with sandpaper can make the difference between a rustic finish and a messy-looking one.
Burn In Several Controlled Passes
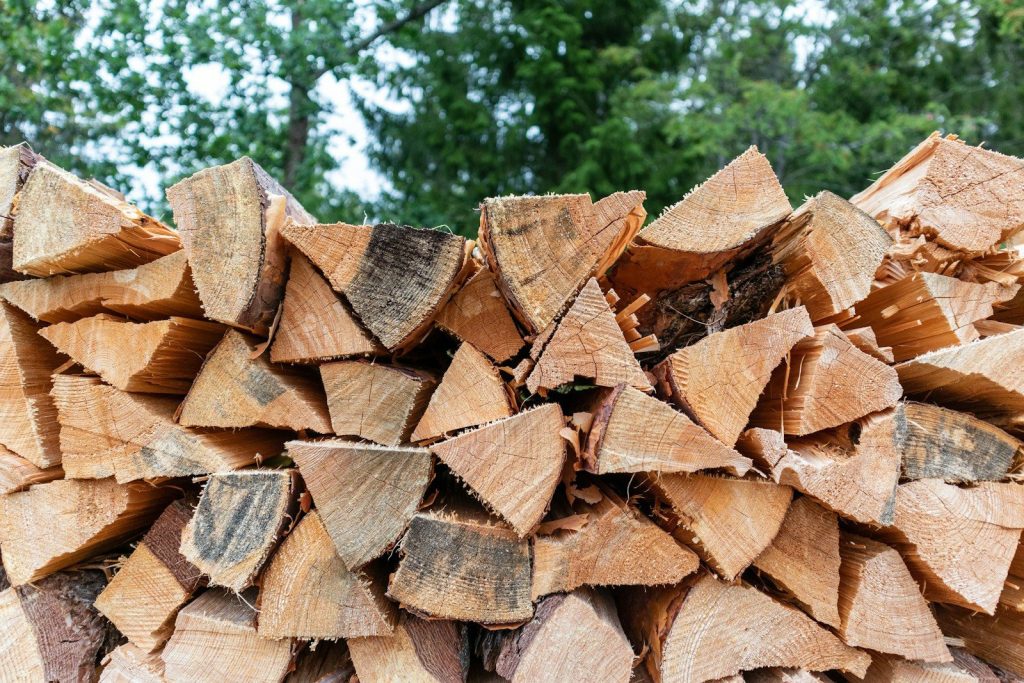
Do not try to create the darkest finish in one aggressive pass. Begin with a lighter scorch, then gradually build the color across the edges and top. Multiple passes give you more control and make it easier to create a consistent appearance.
A light burn on the underside can also help reduce the chance of the board cupping from uneven heating. As you work, watch for areas that continue burning after the torch moves away and put them out before the heat spreads.
Brush Away The Char Without Overworking It
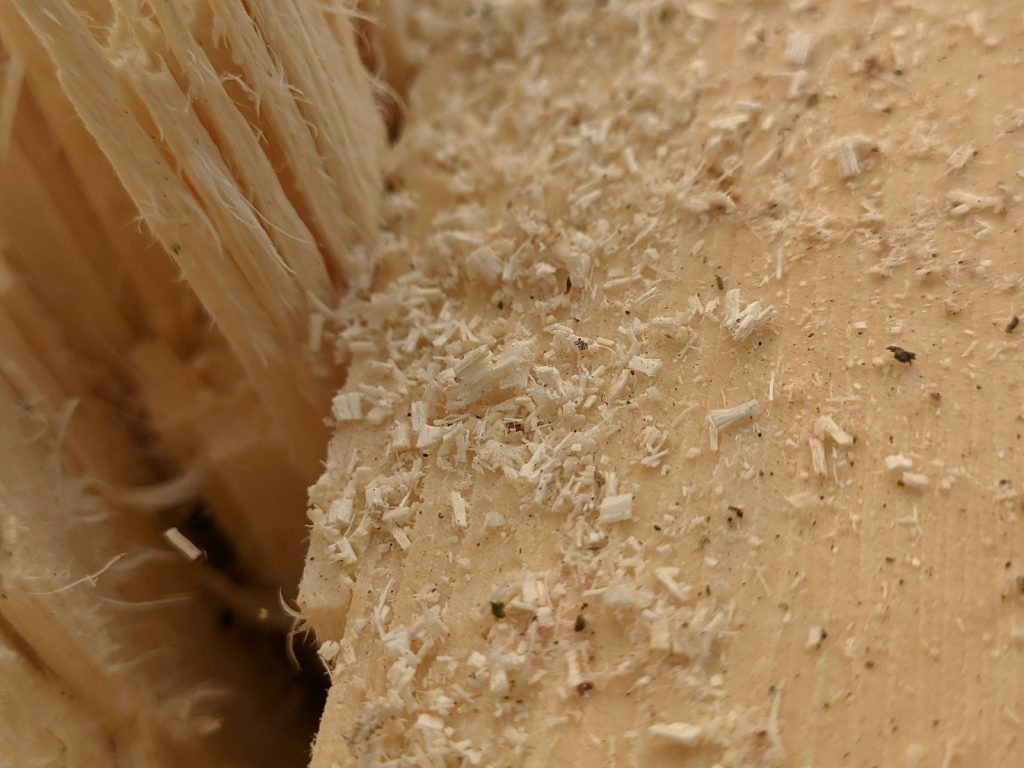
Once the wood reaches the look you want, the loose char needs to be removed carefully. A small stiff brush can clear away the surface residue while leaving behind the texture and color that make the finish interesting.
Avoid treating the burned surface like ordinary unfinished wood. The goal is not to scrub everything away, but to remove loose dust and unstable material. A final wipe with a paper towel can help reveal the true surface before finishing.
Protect The Look With A Thin Finish
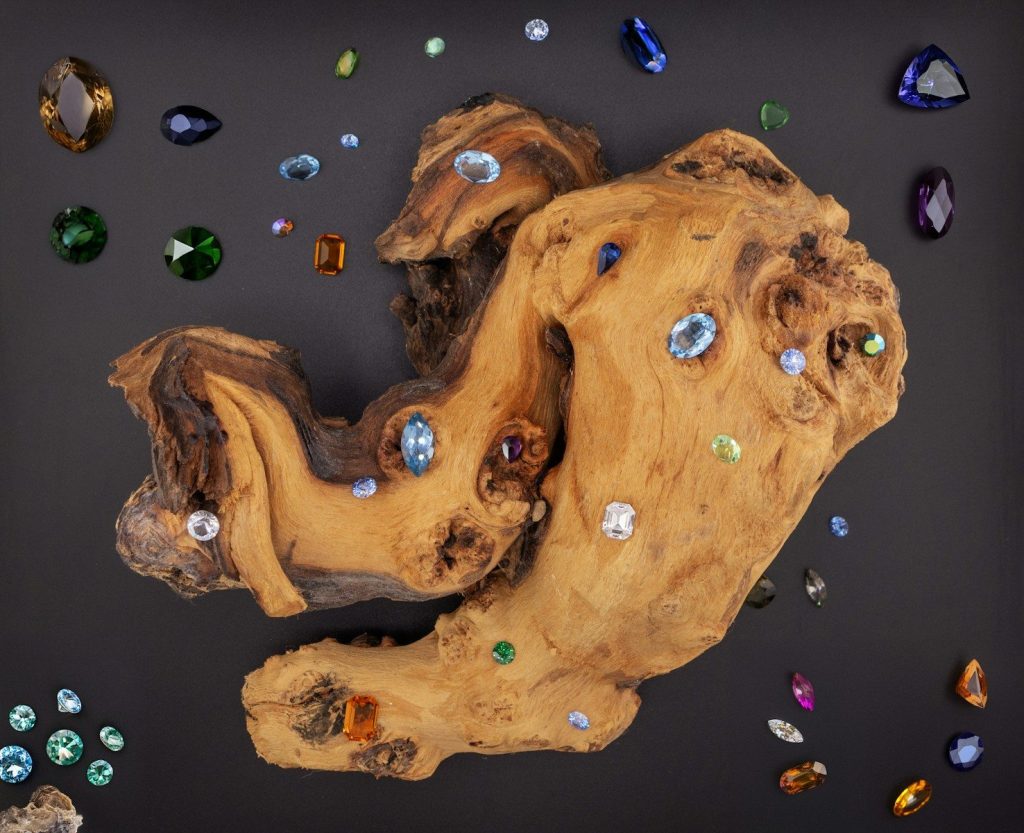
A thin protective coating can help stabilize a decorative piece without burying the texture under a thick, glossy film. Wipe-on polyurethane is one option, while wax or thinned shellac can create different appearances depending on the look you want.
The final hack is to remember that burned wood can still be delicate. Even after finishing, handle the piece with care and use it where the surface will not face constant rough treatment, especially if it is holding treasured objects.
Featured Image: By Rapha Wilde on Unsplash