

Aluminum foil is usually tucked away in the kitchen, but it can do far more than wrap leftovers. With a little creativity, this inexpensive household staple can add shine, texture, and eye-catching details to all kinds of DIY projects.
The best part is that you do not need expensive crafting supplies to get impressive results. These foil hacks help transform ordinary creations into polished pieces using simple techniques that anyone can try at home.
Add Shine Without Expensive Materials
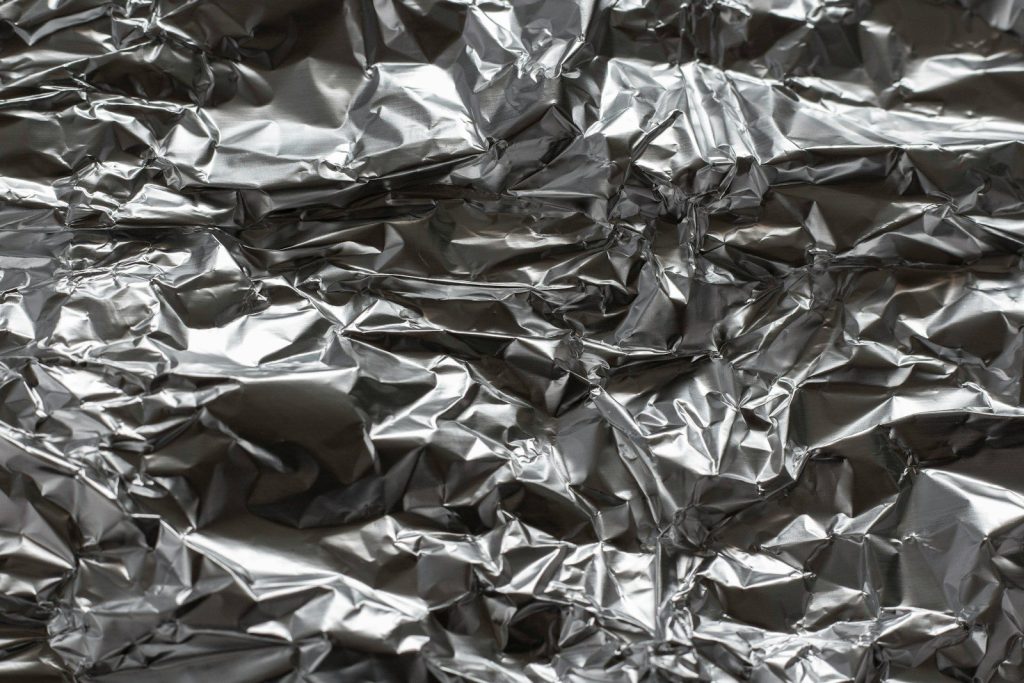
Decorative metallic finishes often come with a high price, but aluminum foil offers a budget-friendly alternative. It creates reflective accents that instantly make crafts look more polished.
A useful hack is applying foil only to small focal areas instead of covering everything. This creates contrast and keeps the design looking clean rather than overwhelming.
Create Texture That Stands Out
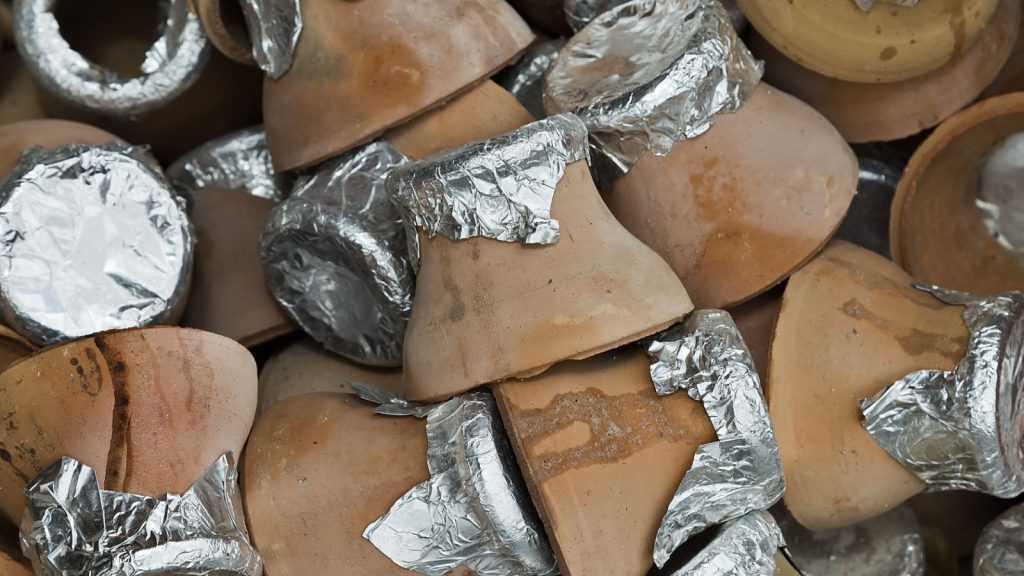
Foil is flexible enough to be shaped into patterns, folds, and raised designs with very little effort. These textures add depth that flat materials cannot easily achieve.
Try gently pressing foil over textured surfaces before attaching it to your project. This simple trick creates unique details without needing special crafting tools.
Turn Plain Frames Into Decorative Pieces

Old picture frames can look completely different with a few carefully placed foil accents. Small metallic details add brightness without requiring a full makeover.
The hack is focusing on corners or raised edges instead of the entire frame. This gives it an elegant appearance while using very little material.
Make Handmade Gifts Feel More Special

A simple DIY gift becomes much more memorable when it includes metallic highlights. Foil reflects light beautifully and adds a premium look to homemade creations.
Use small foil details on gift boxes, cards, or decorations instead of covering large areas. The subtle finish often creates the biggest visual impact.
Mix Foil With Paint for Better Results

Foil and paint work surprisingly well together when balanced carefully. The combination creates contrast between matte and reflective surfaces that catches the eye.
A practical hack is painting first and adding foil after everything dries. This keeps the metallic finish crisp and prevents accidental smudges.
Highlight Small Decorative Details
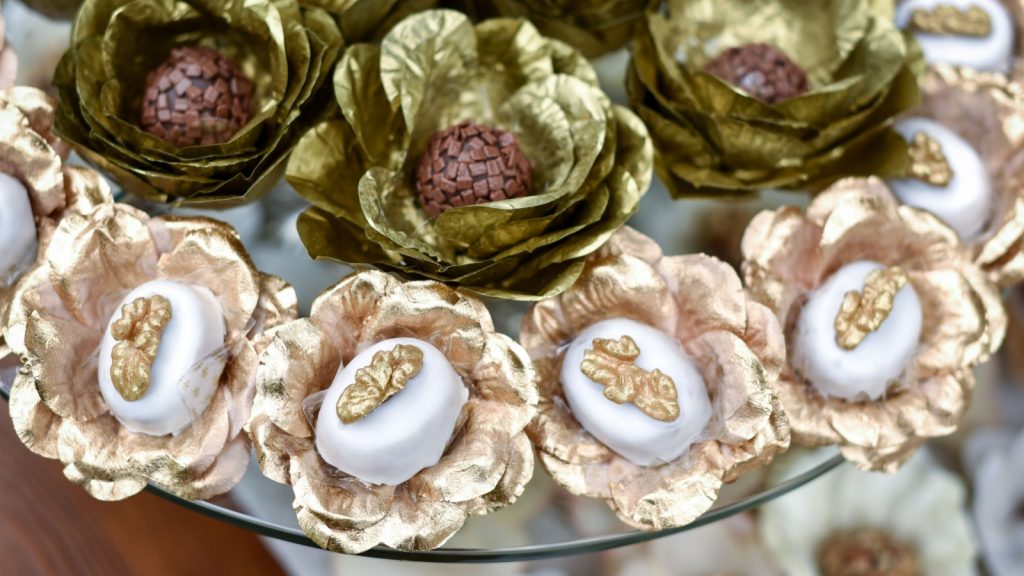
Large shiny surfaces can sometimes overpower a craft, but tiny metallic accents naturally draw attention where you want it. They also create a more refined finish.
Use foil to outline shapes or emphasize decorative elements instead of making it the entire project. Small touches usually appear more professional.
Practice Before Decorating the Final Piece

Working with foil becomes much easier after a little practice. Learning how it folds, stretches, and adheres helps prevent mistakes on important projects.
Test different techniques on scrap materials before decorating your finished item. This simple habit builds confidence and improves your final results.
Let Simple Materials Do the Hard Work

Creative projects do not always need expensive supplies to stand out. Often, the smartest ideas come from finding new uses for everyday household items.
The best foil hack is keeping your designs simple and using metallic accents with purpose. A few well-placed details can completely transform an ordinary craft into something that looks professionally made.